
I have said it, so now I have to deliver it.
General thoughts
Though the picture is large, the fist step to do is still the metal. I decided to build my lab with an extra hardware:
- A seperated environment that I can reboot
- Power-consumption should be lower vs turning my sub-PC into a 24/7 machine
Also I need to concern on my networking setup, which is pretty flat currently thanks to the free-provided home network that comes with my apartment contract. (Yea, I need to enhance this part too, but it will be a later story)
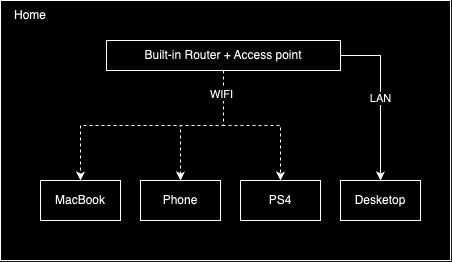
And considering the new hardware, again several options comes up
- Raspberry Pi device for low-power consumption
- Pre-built PC for lazy people
- Custom built computer for maximum flexibility
Finally some actions
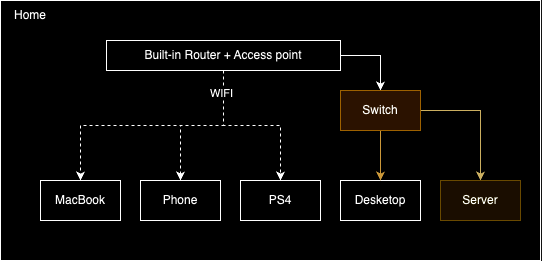
I finally settled with a compact pre-built PC, as I found it to be cheaper than a custom-built one, yet I can expand the storage more than a Raspberry Pi allows. I also bought a switch so I can create a basic LAN with my subPC. I chose one with Intel N150, 8GB RAM + 256GB SSD. which should gives a lower power consumption.
Along the way one important thing for me is to scope down my imagination, otherwise it will expand endlessly and I can never finish it. E.g. Availability/redundancy is another big topic to think about. But that would be too much on the plate + cost. This would be a topic in phase 3 when I found things not enough and need to scale-out.
Installing the hardware
After some easy-wiring (basically plugging and tidying up cables near the socket) I have managed to get it running. I need to buy also a switch as I only have one LAN port. And now the network setup becomes the following:
Installing the OS
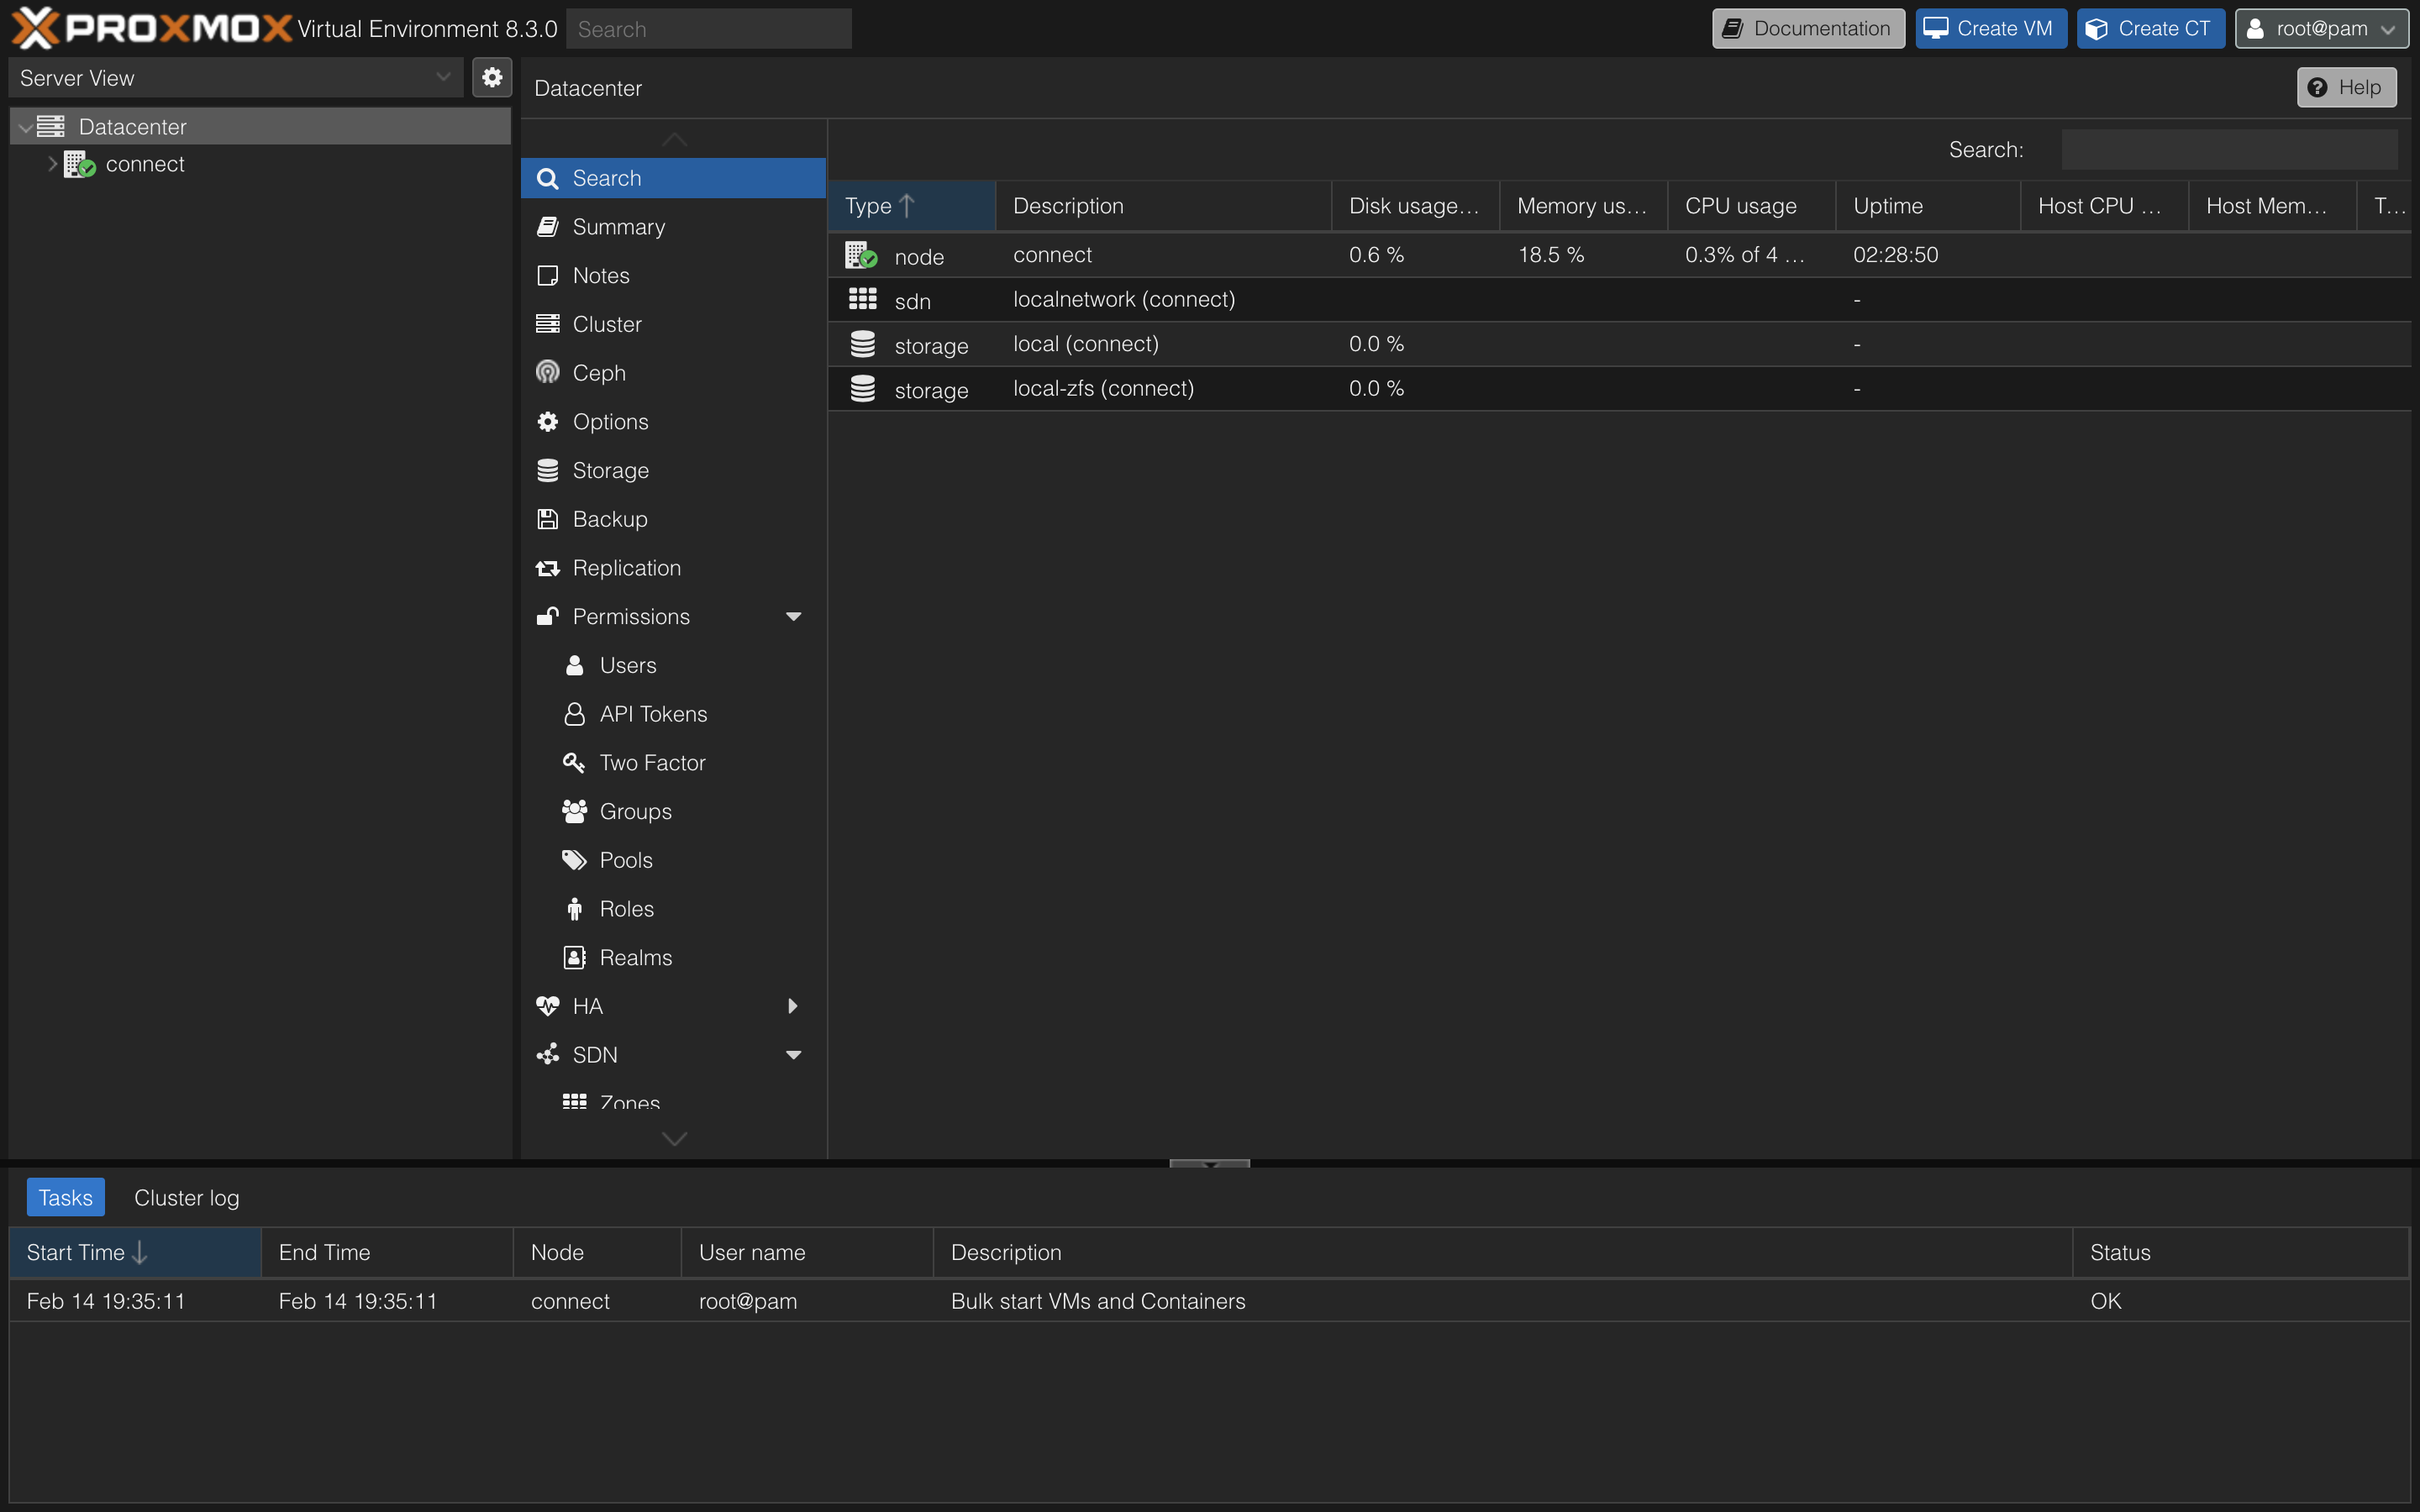
As I only have a mini PC for setup everything, it would just require me provisioning many items on it. Considering the way I will be using it and the amount of restarts/backup I decided to use ProxMox for the setup. Installing it is rather simple:
- On My Desktop download the latest Proxmox PV ISO file from the download page
- Using Etcher and load the ISO file onto a unused USB (here I used one with 16GB), this would make it a bootable device
- Plugin the USB to the server mini PC and boot into BIOS
- On my device it is by pushing
ESCduring it is booting
- On my device it is by pushing
- In the very last
boottab, choose the USB as the boot media - Proxmox installation Agent should then be loaded. Following the steps and we should get it running
zfsis selected for disk format option- As this is as first a home network my hostname is set as random
- After the installation, the server can be accessed from my MacBook and Desketop using web browser
Great! Nice! Wonderful!
Next step
To further expand the capacity I have bought other parts making it 32GB + 3TB in the end. I plan to create a 2DB NAS and 1 TB for all other things. For an initial setup this should be more than enough. The next step is to wait for them to come, so I can reinstall the things and get the server real running.
Interesting that from the beginning of my study I was trained to build things on cloud, and now I need to start things in cloud.
The Hardware.