
Everything assembled, time to assemble
Proposal Setup
While waiting for the extra parts to come, it is still nice to play with the existing hardwares.
Currently there are 3 VMs planned, for different purpose
- Networking VM, which I can host things like VPN services
- Storage VM, for building NAS
- Computing VM, general-purpose VM used for tasks/workloads
First thing first
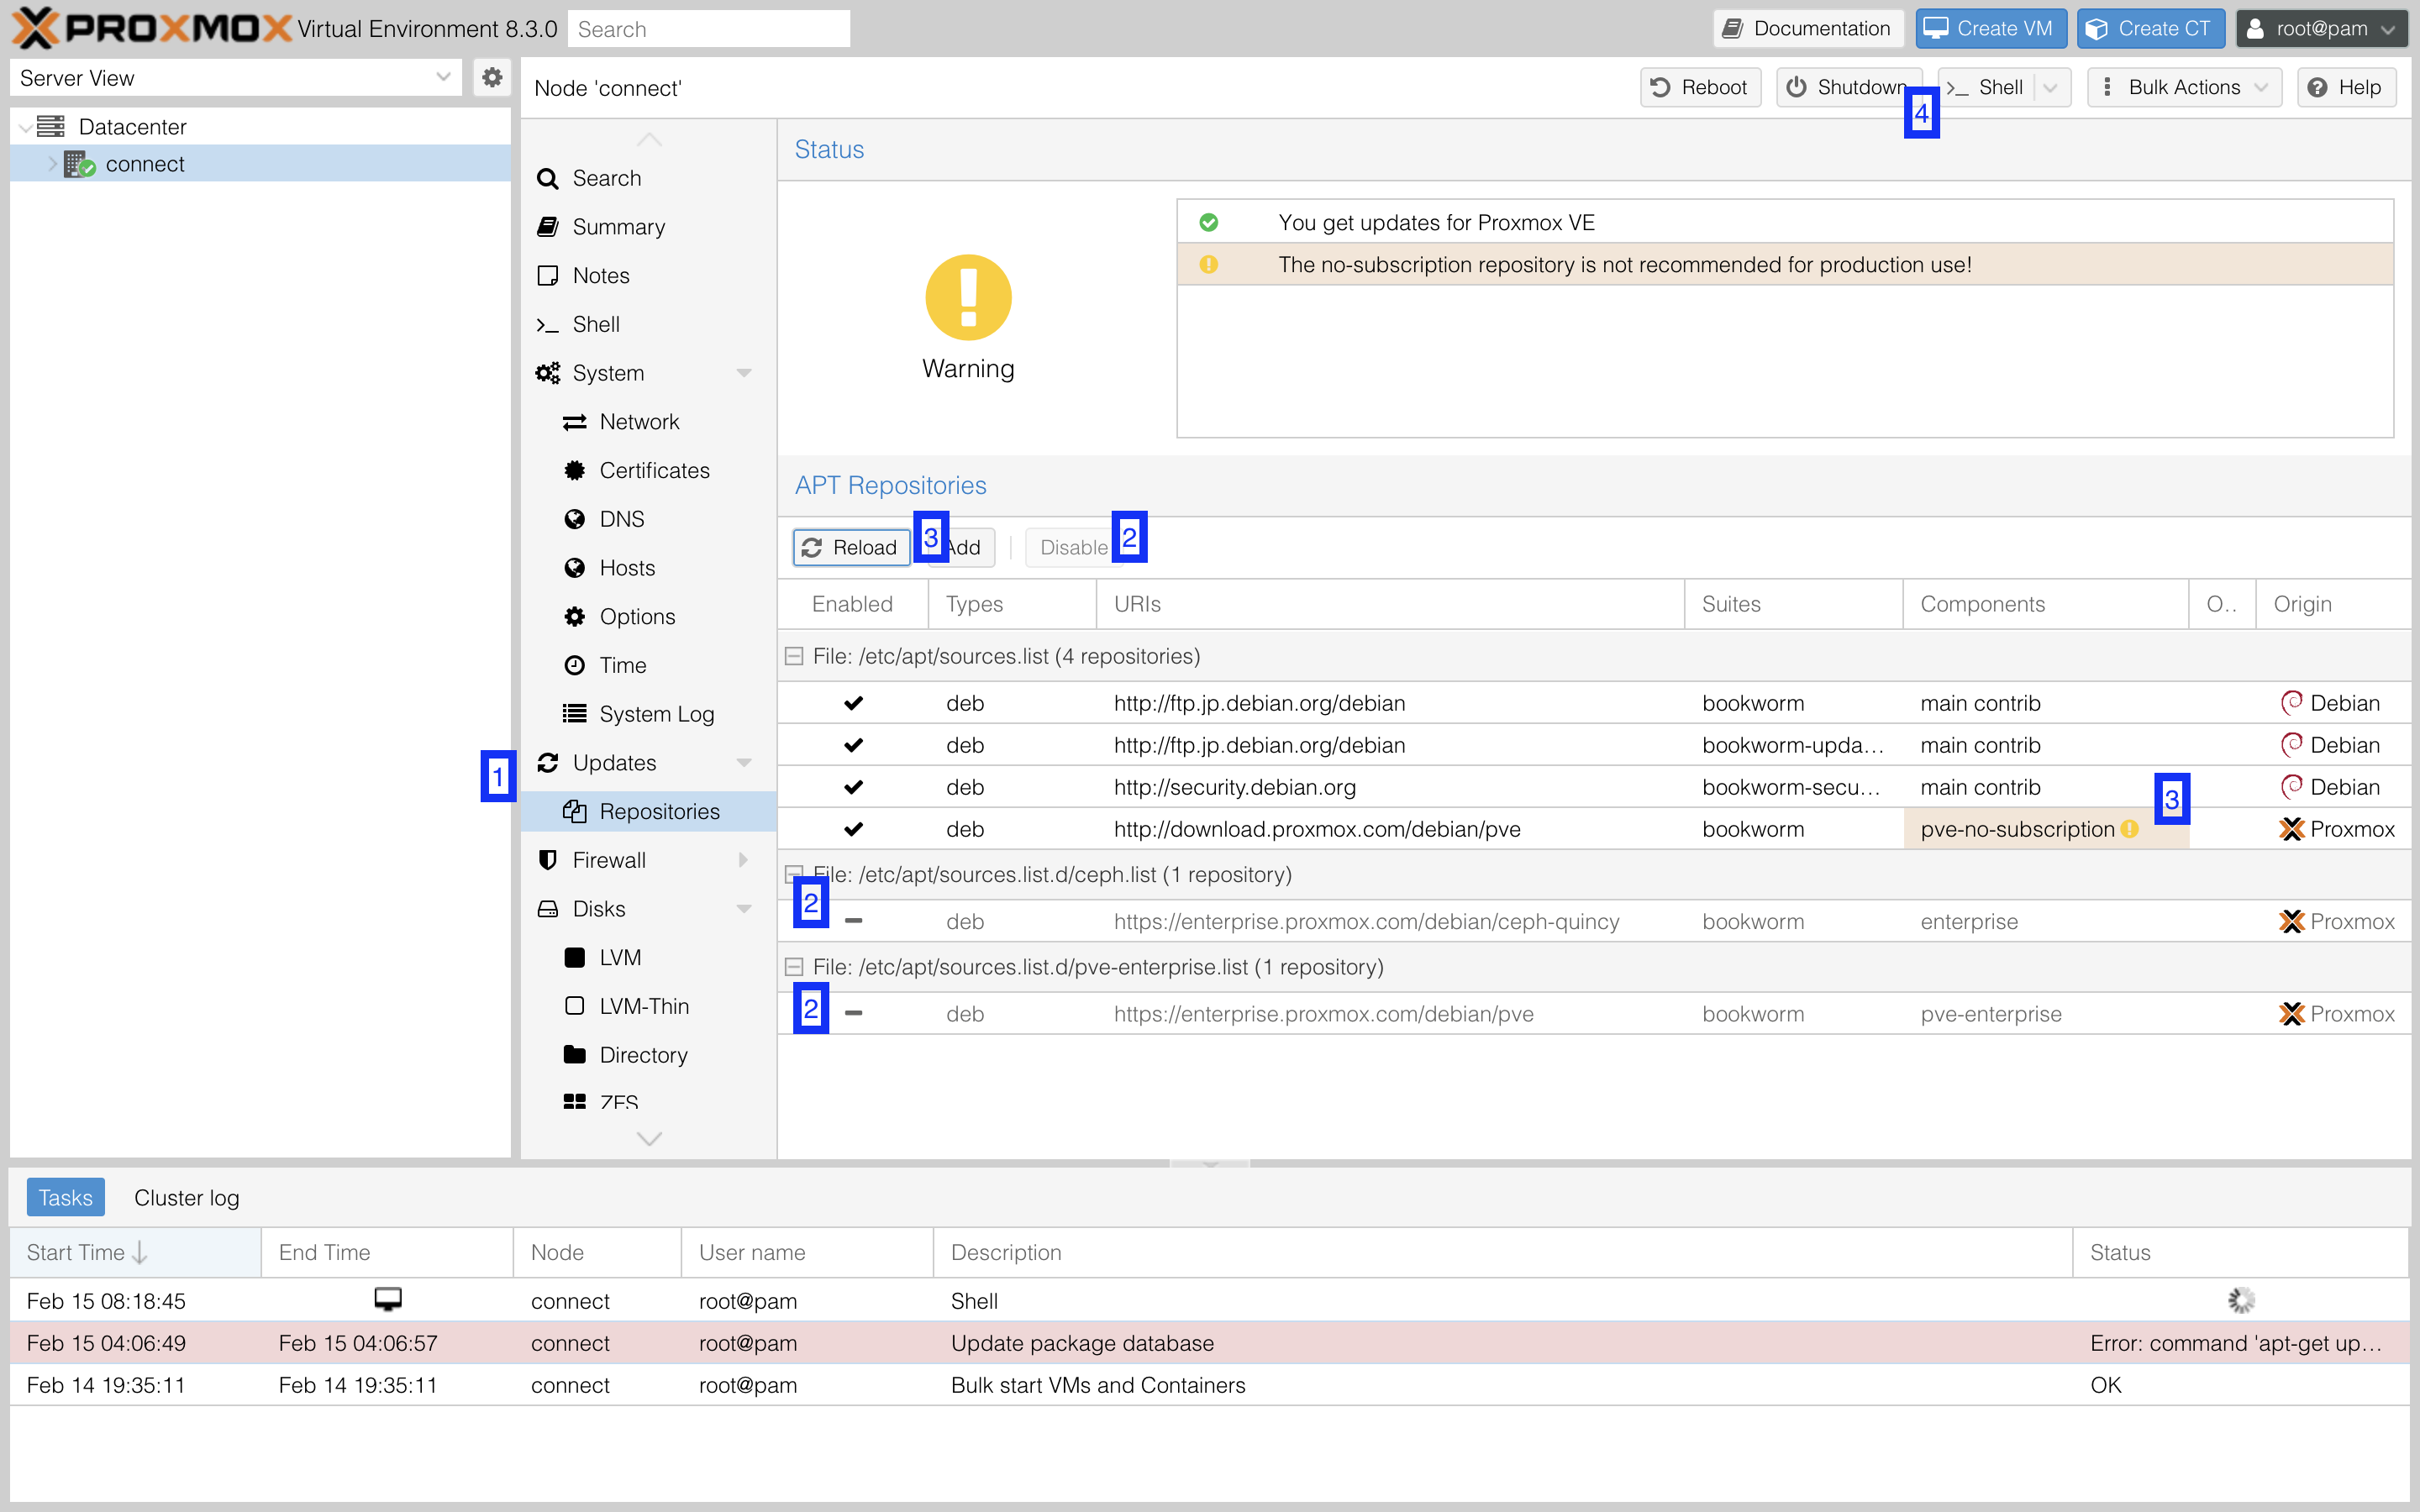
The first thing to do is actually play with Proxmox environment. Logging into console naturally the first thing is to do an apt update which failed. Later I found out that Proxmox is configured with license in mind so to use the community version I need to delete update the repository. Here is the screenshot.
Networking VM
Without too much storage, I decided to build a Debian VM first just to test out.
- In Proxmox, go to
storage -> ISO images - Retrieve the ISO link from
and download the image using
Download from URL - After downloading,
Create a VMand create the VM using the following spec.- 32GB Storage
- 2GB RAM
- 1 CPU Core
- Start the VM and follow the procedure to install the system into the 32GB boot disk. For simplicity I put everything into a single partition.
- Setting up the root and user account, we can login and do the basic
apt update && apt upgrade - One more thing is to do
apt install openssh-serverso we can connect to the VM from local device.
Everything is smooth, but only thing I noticed is that after the setup, it is consuming a lot of RAM. My gut is telling me that using >1GB of RAM for this is too much, there must be some better way. After searching I found 2 settings I can do
- Installing the
standardversion that does not comes with GUI likeCinnamon - Enabling the GEMU agent And with these enabled, now the RAM usage stays 500MB, which it looks more reasonable.

Storage VM
The next VM I am creating is the network drive. This is another choice in the System to be used. As I am building my own NAS there are a few requirements to take concern:
- Processing power
- Storage method
- Ease of Backup/restore
As my computer does not have that much CPU, the ultimate solution cannot be too fancy. I was struggling mostly between TrueNAS and OpenMediaVault. Prior one is a complete solution while the latter one is a lightweighted one. In the end I decided to go for OMV with zfs plugin because it seems to be an simpler option that I am able to set up fast. (tho with 1 SSD I can only benefit from the compression but not RAID from zfs)
One difficult part along the setup is that I am using Disk Passthrough, to pass the whole disk empty disk to OMV. This is actually done by following the official guide:
- retrieve the device_id
lsblk |awk 'NR==1{print $0" DEVICE-ID(S)"}NR>1{dev=$1;printf $0" ";system("find /dev/disk/by-id -lname \"*"dev"\" -printf \" %p\"");print "";}'|grep -v -E 'part|lvm'
- Add the disk to the VM
qm set {VM_ID} -scsi2 /dev/disk/by-id/{DEVICE_ID}update VM {VM_ID}: -scsi2 /dev/disk/by-id/{DEVICE_ID}
- Stop and restart VM
Then the device is viewable in VM, and we can create a Netwok drive in OMV with ZFS:
- install
openmediavault-kernel - in kernal plugin, install the proxmox kernal version and set it to default
- install
OMV-Extraswget -O - https://github.com/OpenMediaVault-Plugin-Developers/packages/raw/master/install | bash
- install
openmediavault-zfs - If everything goes nice we can see
zfsunderstoragetab, where we can create a zfs pool - With a
zfs poolcreated, we can create aFile SystemsandShared Folderusing the pool - Create a
Userwhich act for authenticting the access to the system - Finally in
Services, enableSMB/CIFSand create ashareon the folder - Then the folder is created, and we can mount the network drive from other places
sudo mount -t cifs -o username={USER} //{OMV_IP}/{SHARE_NAME} {MOUNT_PATH}
And we can start uploading the media to there.
Computing VM
On our computing VM the first thing is to host a media server where we can browse the NAS. This time I choose JellyFin as it is simple and feature-rich vs the overly-rich plex.
- Start a new Debian VM
- Install JellyFin
- Mount the Network drive to VM
- Setup JellyFin on website
This is the easiest one and pretty straight forward, and now I have my home media server.
Concluding
It took many days for me to select the best suite. Tho it comes down to what fits me most but there are much investigation and decision along the way. For example the suite hugely changed from TrueNAS + Plex to OMV + Jellyfin, but I actually feel better in this way. Also thanks to VM hosting on Proxmox, I actually tried to installing these images and dump them right-away to find out if the experience feels good. I feel like this is a good starting point and the spirit of research and challenge starts coming to me againg in this.
The Choice.